Create Template | Update Template | Delete Template | Use Template
Managing templates effectively is key to running efficient and impactful campaigns. In this guide, we'll walk you through how to create, edit, and delete templates within the LinkedLite Template Section, and how to assign those templates when creating a campaign.
1. Creating a Template
Templates serve as the backbone of your campaign designs. Whether you're planning a series of email newsletters or a dynamic social media campaign, creating the right template ensures consistency and saves time.
Steps to Create a Template:
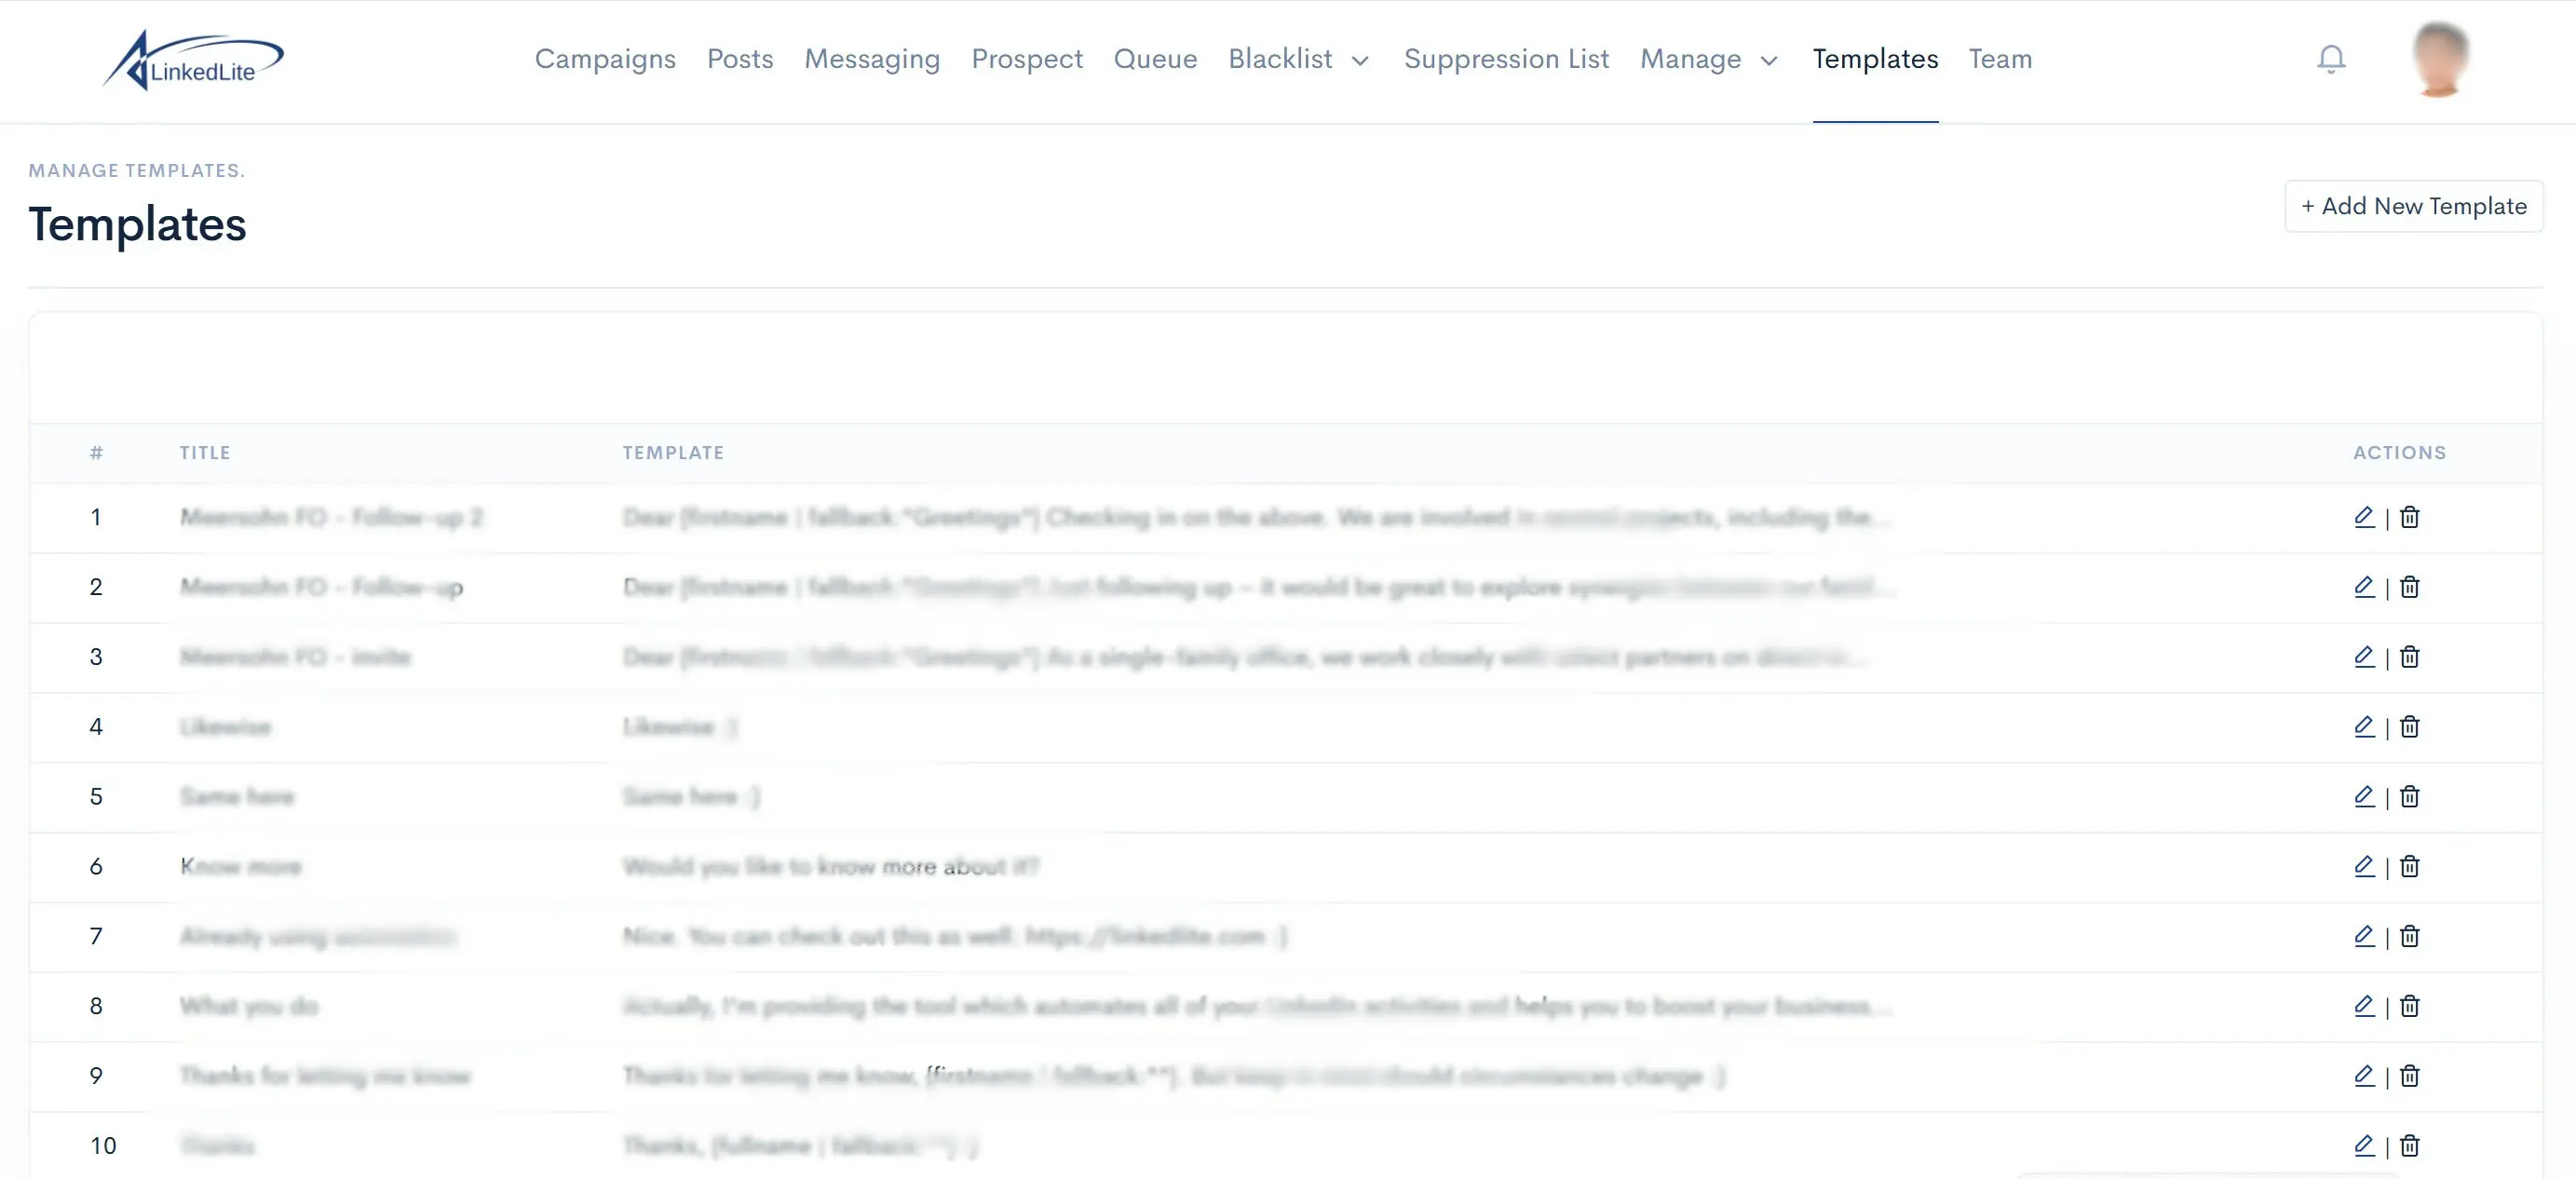
- Navigate to the Template Section:
Start by logging into your dashboard and heading to the Templates Section. Here, you’ll see all your pre-existing templates as well as an option to create a new one. - Click 'Create New Template':
You’ll be prompted to fill in details such as:
Template Name: Choose a name that clearly describes its purpose.
Template: Set the template that will be used to craft the message. This is where you’ll select or design the structure for your message content (text, images, links, etc.). - Save the Template:
Once you’ve named your template and set up the structure, click the Save button to store your template. It’s now ready for use in future campaigns!
2. Editing a Template
Sometimes, you’ll need to tweak a template to fit the needs of a new campaign or update it to reflect your latest branding.
Steps to Edit a Template:
- Go to the Template Section:
Navigate back to the Template Section where all your saved templates are listed. - Select the Template to Edit:
Find the template you want to edit and click on it. This will open the template for editing. - Make Your Changes:
Update the template as you wish to fit your new campaign requirements. - Save Changes:
After editing, don’t forget to click Save to ensure your updated template is ready for future use.
3. Deleting a Template
If a template is no longer relevant or useful, deleting it is a quick way to keep your template library organized.
Steps to Delete a Template:
- Access the Template Section:
Return to the Template Section where all your templates are stored. - Find the Template to Delete:
Select the template you want to remove from the list. - Click 'Delete':
Once you've selected the template, there will be an option to Delete it. Confirm your choice, and the template will be permanently removed from the system.
4. Assigning Templates When Creating a Campaign
Now that you've mastered creating, editing, and deleting templates, it’s time to assign them to your campaigns!
Steps to Assign a Template During Campaign Creation:
- Create or Edit a Campaign:
Head to the Campaign Section and either create a new campaign or edit an existing one. - Select the Template for Your Campaign:
During the campaign setup, you’ll be asked to choose a template. From the available options, select the template you previously created or edited from the LinkedLite Template Section. - Customize the Campaign Details:
Once the template is assigned, you can add the final campaign details, such as content, targeting, and budget. - Launch the Campaign:
After customizing the campaign, hit Start to launch it, and your campaign will use the template you’ve chosen for consistency and style.
Why Using Templates Matters:
- Consistency: Templates ensure your campaigns maintain a consistent design and branding.
- Efficiency: Instead of designing from scratch every time, templates allow for quicker setup and less hassle.
- Flexibility: You can create different templates for different campaign types and reuse them as needed, giving you both structure and flexibility.
By following these steps, you can streamline your campaign creation process and ensure every campaign looks polished and professional.